Deleting Labs
Labs in CML are persistent. After a lab has been stopped, CML will maintain the state for all nodes in the lab. Any setting that you modify during the simulation is automatically saved by the system. The next time you start the lab, all nodes will be using the same running configurations from the last time the lab was stopped.
To delete a lab, you must first stop the lab simulation and remove (wipe) its persistent state.

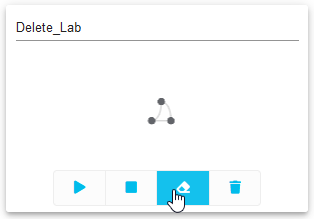
Start Lab / Stop Lab / Wipe Lab / Delete Lab
Procedure
In the Dashboard, locate the lab that you want to delete. If the lab is running, the Wipe Lab button will be disabled and grayed out. Click the Stop Lab button first to stop the running lab.
With the lab stopped, click the Wipe Lab button.
A confirmation dialog is shown.
Click OK in the dialog to confirm that you want to wipe the lab.
By wiping the lab, all data associated with the lab will be permanently deleted.
Click the Delete Lab button to remove the lab.
A confirmation dialog is shown.
Click OK in the dialog to confirm that you want to permanently delete the lab.
The lab is deleted, and it is no longer shown in the list on the Dashboard.