This chapter describes some recipes, tools, and other resources that you may find useful throughout the guide. The topics are tailored to novice users and focus on making development with NSO a more enjoyable experience.
Many developers prefer their own, dedicated NSO instance to avoid their work clashing with other team members. You can use either a local or remote Linux machine (such as a VM), or a macOS computer for this purpose.
The advantage of running local Linux with a GUI or macOS is that it is easier to set up the Integrated Development Environment (IDE) and other tools when they run on the same system as NSO. However, many IDEs today also allow working remotely, such as through the SSH protocol, making the choice of local versus remote less of a concern.
For development, using the so-called “local install” of NSO has some distinct advantages:
-
Does not require elevated privileges to install or run.
-
Keeps all NSO files in the same place (user-defined).
-
Allows you to quickly switch between projects and NSO versions.
If you work with multiple projects in parallel, local install also allows you to take advantage of Python virtual environments to separate Python packages per project; simply start the NSO instance in an environment you have activated.
The main downside of using a local install is that it differs slightly from a system (production) install, such as in the filesystem paths used and the out-of-the-box configuration.
See the section called “Local Install Steps” in Getting Started for installation instructions.
There are a number of examples and showcases in this guide. We encourage you to follow them through. They are also a great reference if you are experimenting with a new feature and have trouble getting it to work; you can inspect and compare with the implementation in the example.
To run the examples, you will need access to an NSO instance. A development instance described in this chapter is the perfect option for running locally. See Running NSO Examples in Getting Started.
Cisco also provides online sandbox and containerized environments, such as a Learning Lab or NSO Sandbox, designed for this purpose. Please refer to the online documentation for additional options.
Modern IDEs offer many features on top of advanced file editing support, such as code highlighting, syntax checks, and integrated debugging. While the initial setup takes some effort, the benefits of using an IDE are immense.
Visual Studio Code (VS Code) is a freely-available and extensible IDE. You can add support for Java, Python, and YANG languages, as well as remote access through SSH via VS Code extensions. Consider installing the following extensions:
-
Python by Microsoft: Adds Python support.
-
Language Support for Java(TM) by Red Hat: Adds Java support.
-
NSO Developer Studio by Cisco: Adds NSO-specific features as described in NSO Developer Studio.
-
Remote - SSH by Microsoft: Adds support for remote development.
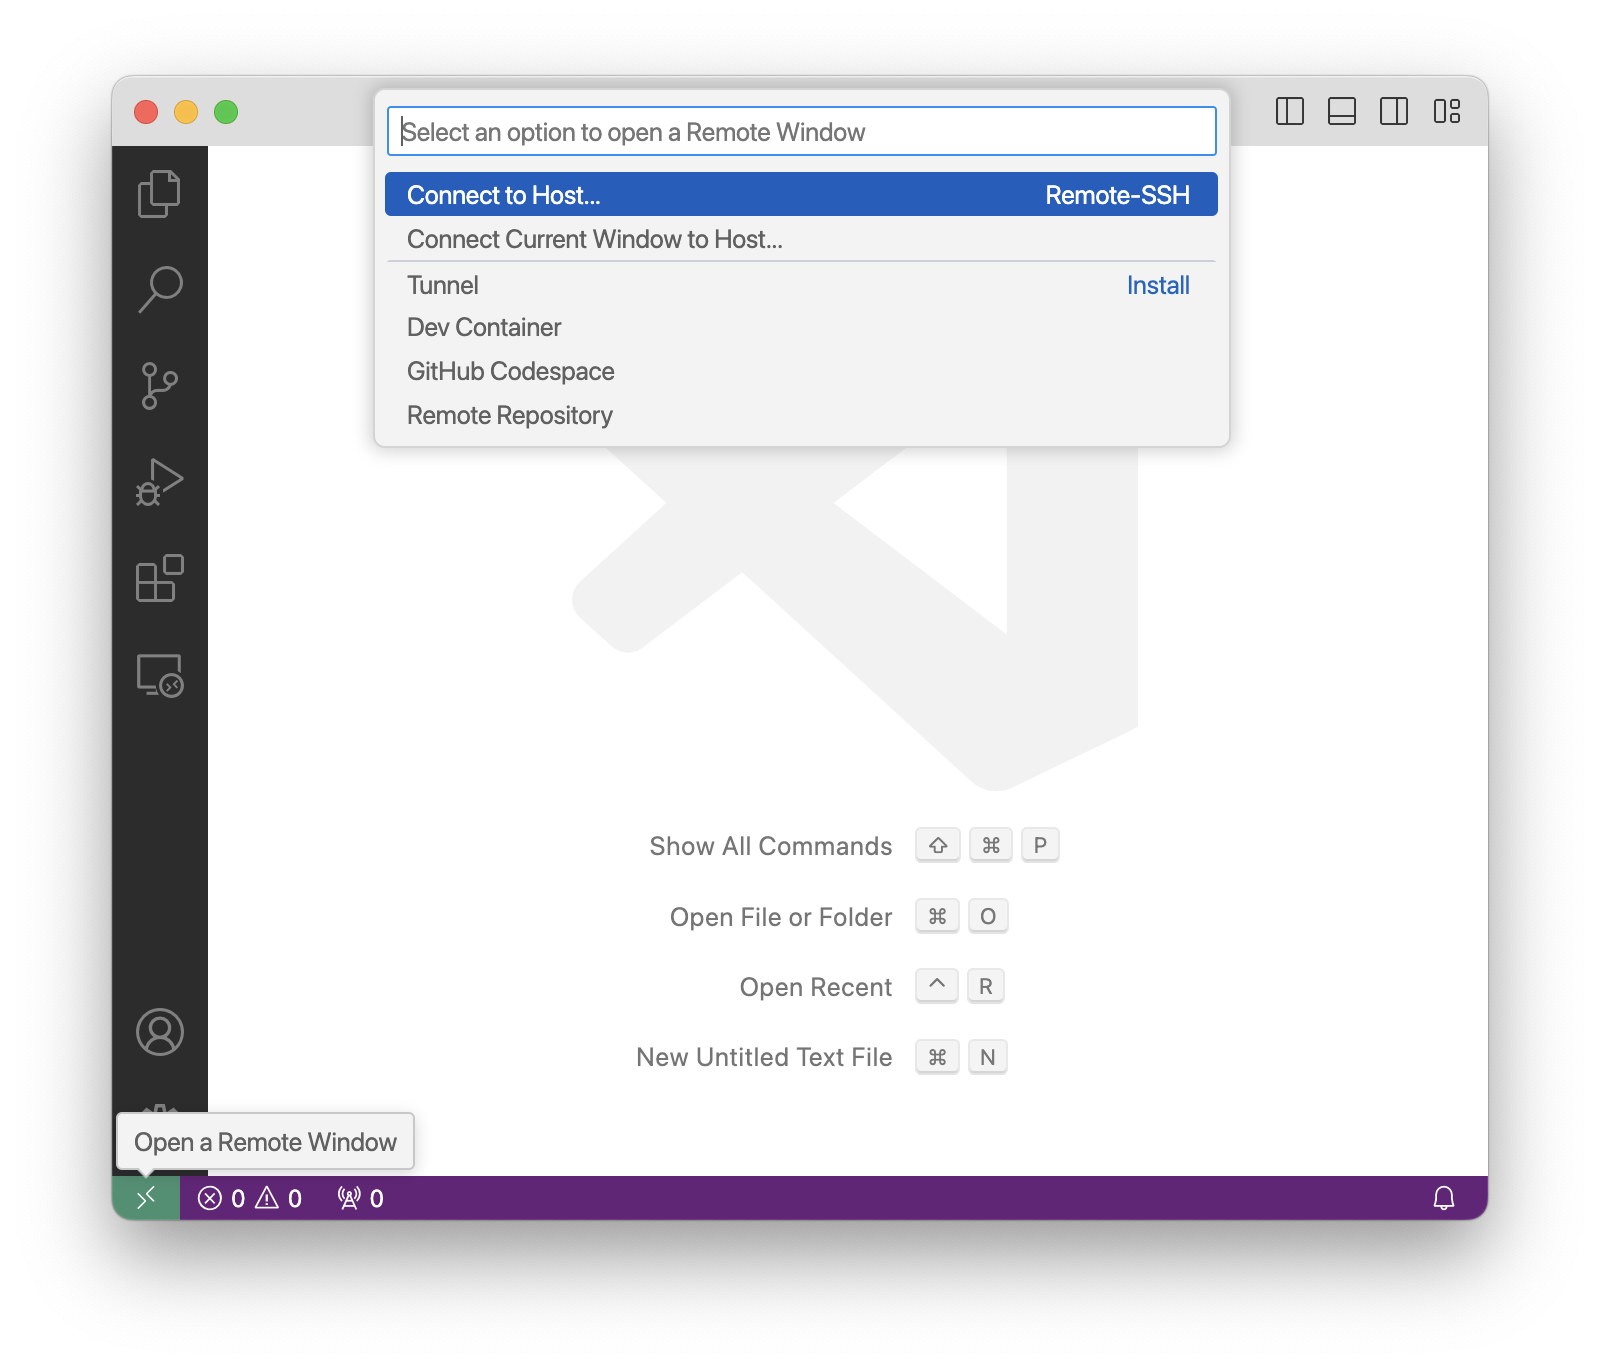
The Remote - SSH extension is especially
useful when you must work with a system through an SSH session.
Once you connect to the remote host by clicking the
>< button (typically found in the
bottom-left corner of the VS Code window), you can open and edit
remote files with ease.
If you also want language support (syntax highlighting and alike),
you may need to install VS Code extensions remotely. That is,
install the extensions after you have connected to the remote host,
otherwise the extension installation screen might not show the
option for installation on the connected host.
You will also benefit greatly from setting up SSH certificate authentication if you are using an SSH session for your work.
Once you get familiar with NSO development and gain some experience, a single NSO instance is likely to be insufficient; either because you need instances for unit testing, because you need one-off (throwaway) instances for an experiment, or something else entirely.
NSO includes tooling to help you quickly set up new local instances when such a need arises.
The following recipe relies on the ncs-setup command, which is available in the local install variant and requires a correctly set up shell environment (e.g. running source ncsrc). See the section called “Local Install Steps” in Getting Started for details.
A new instance typically needs a few things to be useful:
-
Packages
-
Initial data
-
Devices to manage
In its simplest form, the ncs-setup invocation
requires only a destination directory. However, you can specify
additional packages to use with the --package
option. Use the option to add as many packages as you need.
Running ncs-setup creates the required filesystem
structure for an NSO instance. If you wish to include initial
configuration data, put the XML-encoded data in the
ncs-cdb subdirectory and NSO will load
it at first start, as described in
the section called “Initialization Files”.
NSO also needs to know about the managed devices. In case
you are using ncs-netsim simulated devices
(described in
Network Simulator
in User Guide),
you can use the --netsim-dir option with
ncs-setup to add them directly.
Otherwise, you may need to create some initial XML files with the
relevant device configuration data — much like how you would
add a device to NSO manually.
Most of the time, you must also invoke a sync with the device so that it performs correctly with NSO. If you wish to push some initial configuration to the device, you may add the configuration in the form of initial XML data and perform a sync-to. Alternatively, you can simply do a sync-from. You can use the ncs_cmd command for this purpose.
Combining all of this together, consider the following example:
-
Start by creating a new directory to hold the files:
$
mkdir$nso-throwawaycdnso-throwaway -
Create and start a few simulated devices with ncs-netsim, using
./netsimas directory:$
ncs-netsim ncs-netsim create-network $NCS_DIR/packages/neds/cisco-ios-cli-3.8 3 cDEVICE c0 CREATED DEVICE c1 CREATED DEVICE c2 CREATED $ncs-netsim start -
Next, create the running directory with the NED package for the simulated devices and one more package. Also add configuration data to NSO on how to connect to these simulated devices.
$
ncs-setup --dest ncs-run --netsim-dir ./netsim \ --package $NCS_DIR/packages/neds/cisco-ios-cli-3.8 \ --package $NCS_DIR/packages/neds/cisco-iosxr-cli-3.0 -
Now you can add custom initial data as XML files to
ncs-run/ncs-cdb/. Usually you would use existing files but you can also create them on-the-fly.$
cat >ncs-run/ncs-cdb/my_init.xml <<'EOF' <config xmlns="http://tail-f.com/ns/config/1.0"> <session xmlns="http://tail-f.com/ns/aaa/1.1"> <idle-timeout>0</idle-timeout> </session> </config> EOF -
At this point, you are ready to start NSO:
$
cd ncs-run$ncs -
Finally, request an initial sync-from:
$
ncs_cmd -u admin -c 'maction /devices/sync-from'sync-result begin device c0 result true sync-result end sync-result begin device c1 result true sync-result end sync-result begin device c2 result true sync-result end -
The instance is now ready for work. Once you are finished, you can stop it with ncs --stop. Remember to also stop the simulated devices with ncs-netsim stop if you no longer need them. Then, delete the containing folder (
nso-throwaway) to remove all the leftover files and data.